
Sunday, January 22, 2017
Welcome!
Welcome to Peelin' Drag Extreme Fishing! If you are new to our page be sure to SUBSCRIBE to our YouTube channel. We will still be updating this site with the traditional posts and photos, however, as we move into the 2017 we will be focusing more on producing high quality and entertaining fishing videos. We look forward to taking you along on our daily and weekly fishing adventures as we chase down Virginia's largest trophy species!!! To subscribe, click the YouTube logo to get redirected to our channel.

Friday, May 6, 2016
Citation Striper and the Big City Blues

Spring is
our favorite time of year to fish, and for good reason. Fish of all species are
flooding the rivers and gorging on bait, preparing to spawn. As odd as it may
sound it actually becomes difficult to choose what species you want to target.
The fishing in the Spring is the best it will be all year… and this year it was
no different.

With the
quick warming trend we had this Spring the Shad Run showed much promise from
the moment the first Hickory was caught. The Nungesser silver spoon was the
weapon of choice throughout the run and it did quite a bit of damage on the Shad,
both Hickory and American. The Shad Run is usually a fun and easy way to catch
a lot of fish, but this year it was significantly easier as we never got much
rain. Tactics never changed and the fish were very easy to pattern, making the
fishing as good as it could get!

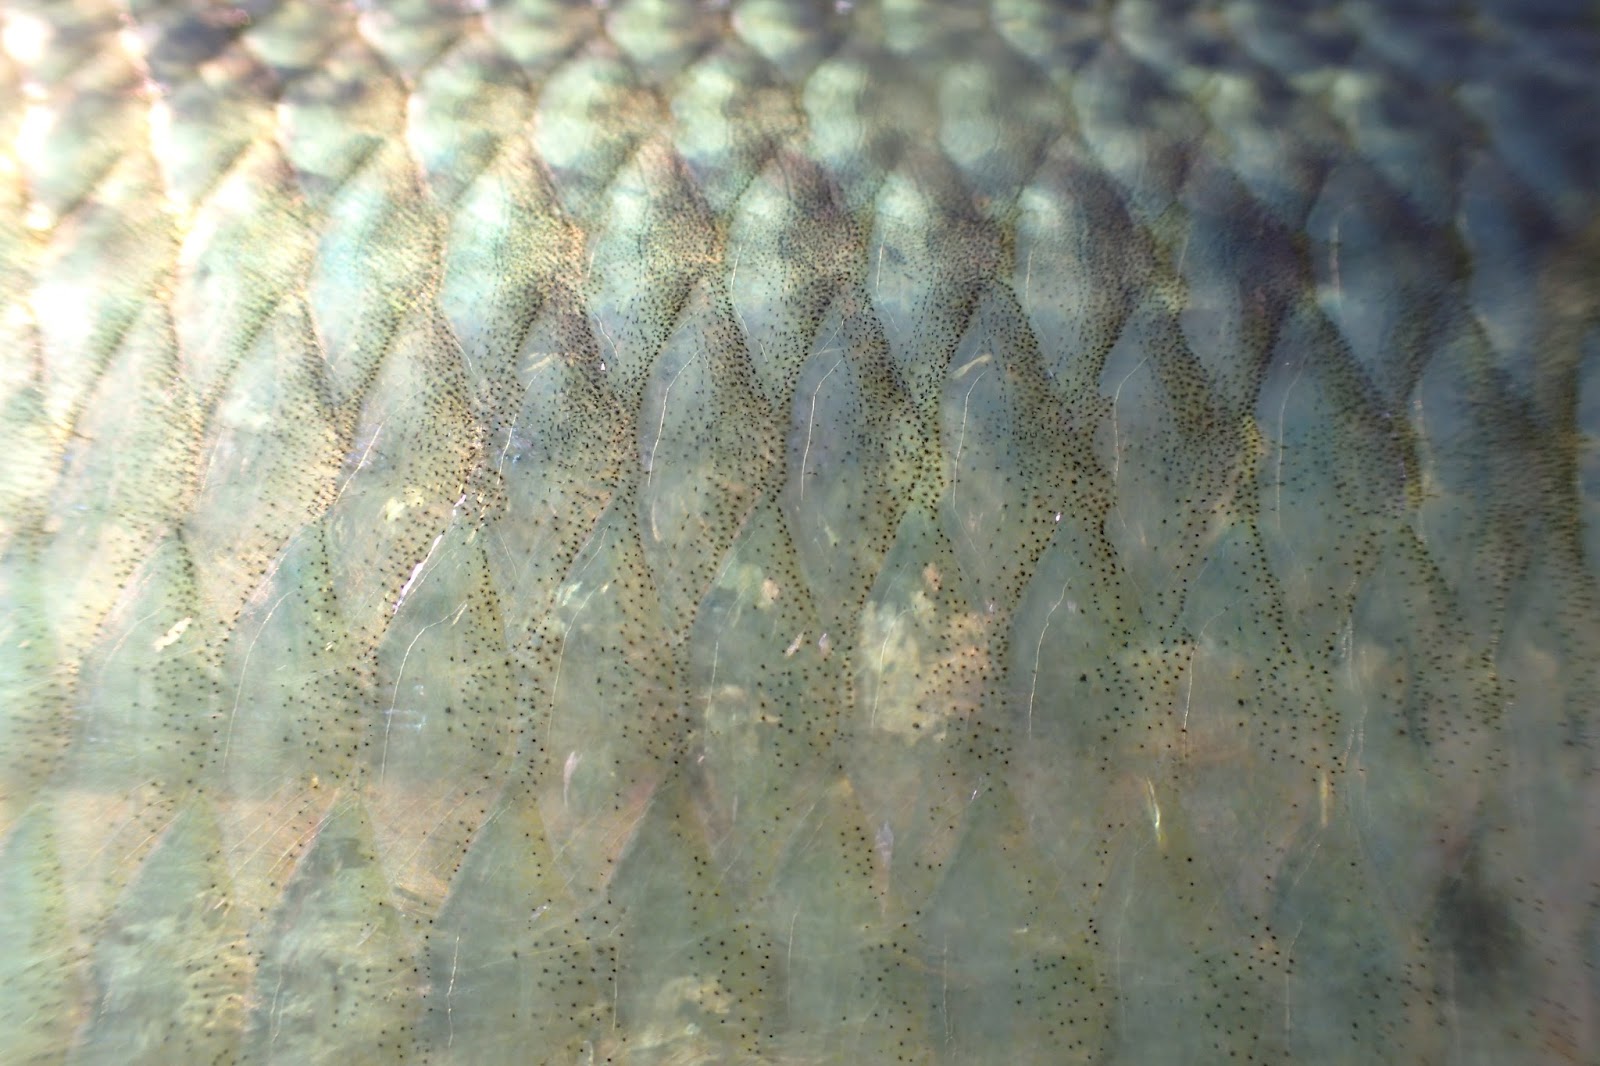
With good
Shad fishing comes easy bait, with easy bait comes more time to search for the
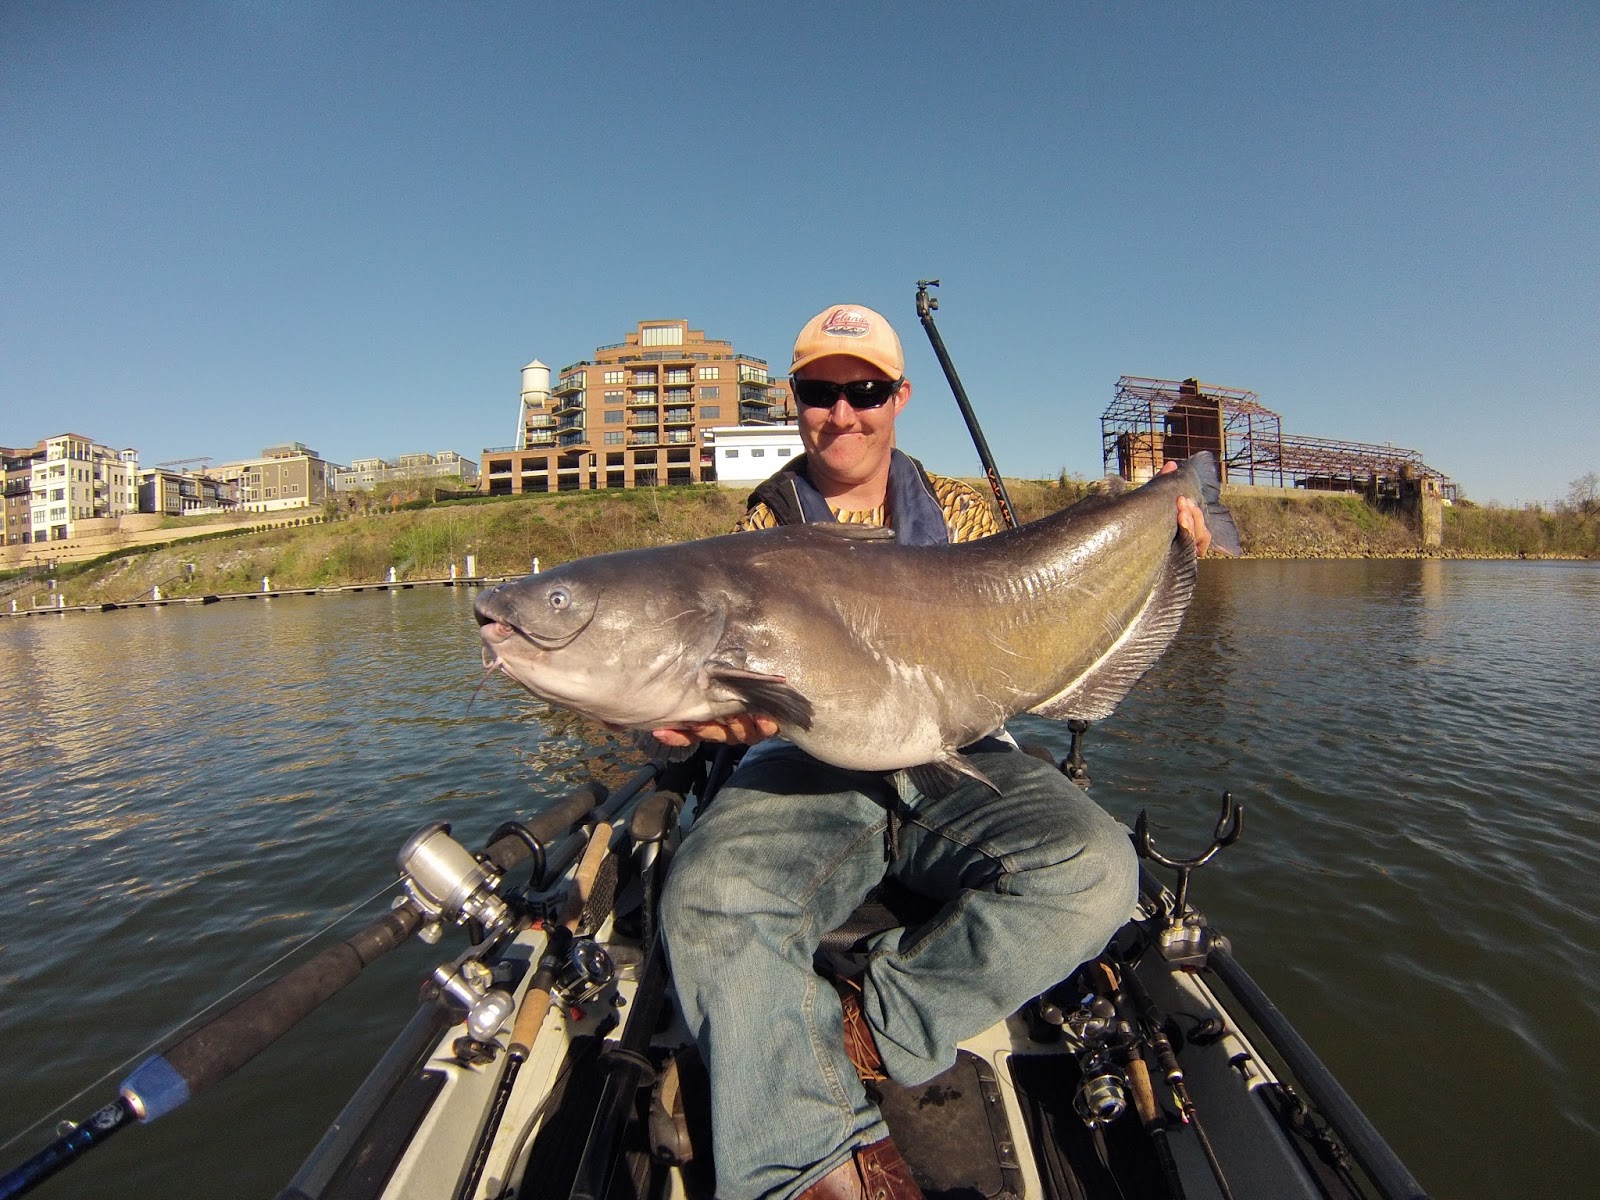
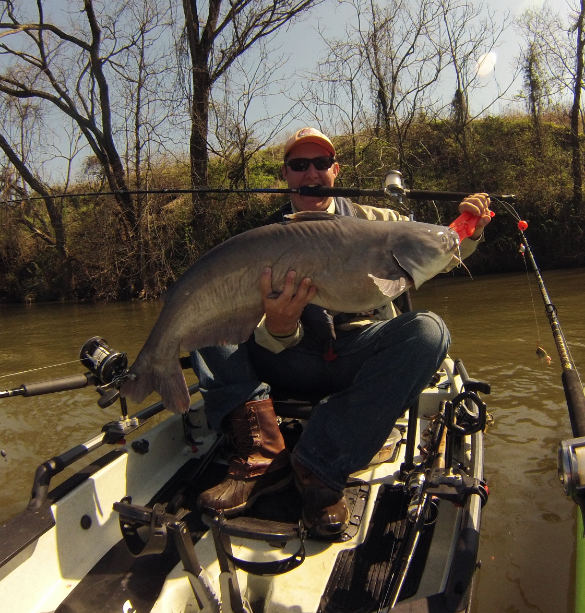
big girls. Grant benefitted substantially from the added catfishing time, capitalizing with what seemed like a big Blue Catfish every trip out. He managed to
land multiple trophy Blue Cats using our kayak drift fishing technique with his
biggest fish being a very impressive 44 inch fish weighing in at approximately
50 pounds!



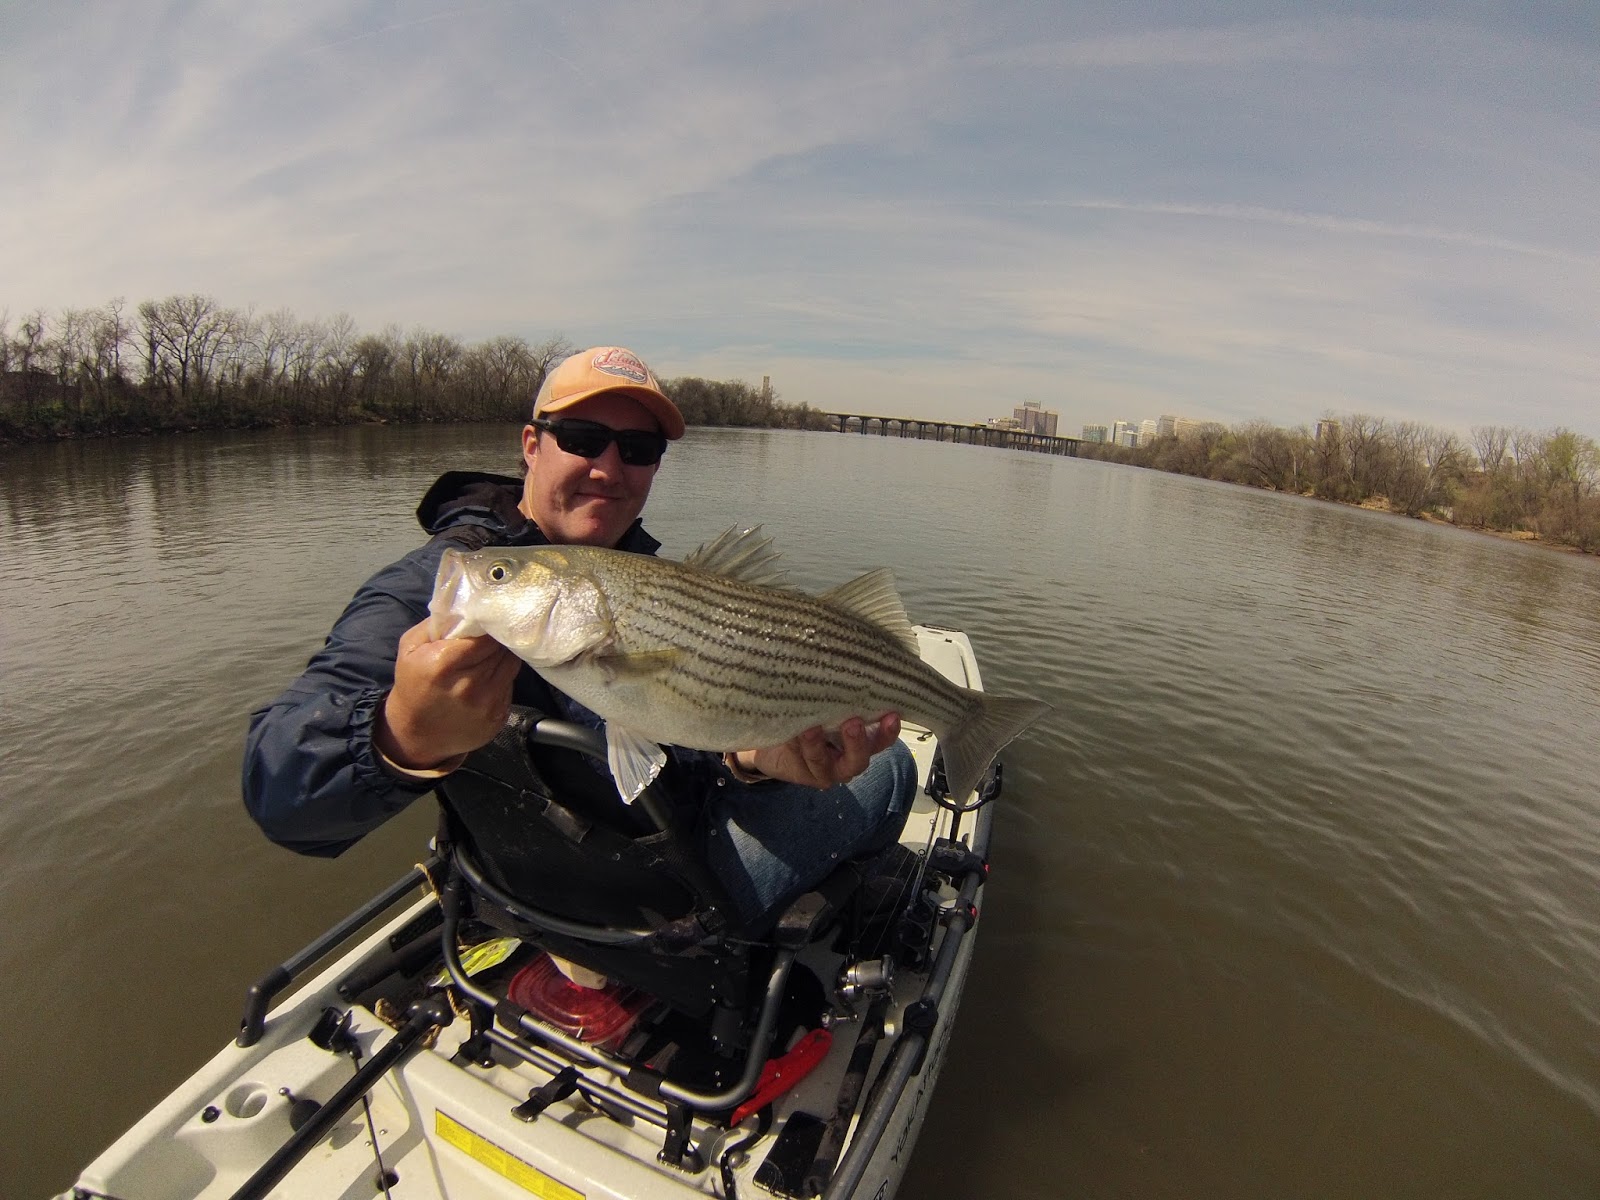
Big Cats weren’t the only thing making their presence known. Large ocean-run Stripers
come up the rivers following the massive schools of Blueback Herring, eating as
many and as often as they can until they’re fat enough to pop. These fish come
in a variety of sizes, from the “schoolie” size fish from 5-15 pounds to the “cow”
Striper that range from 20 pounds all the way up to 50 pounds and beyond.


Although Grant and I caught our
fair share of the schoolie fish, I had my eye on one special fish in
particular. I was looking for a Striper that would help me achieve my Class III
Master Angler status within the State of Virginia. To do that I would need to
find a jumbo fish, a Striper bigger than 37 inches and/or 20 pounds.
After three long hard weeks of fishing I finally found
the beast I was searching for.
It started out as lazy evening on
the river, I decided to take it easy and fish for fun with some buddies of
mine. After about a dozen trips with not much luck the trophy hunt was starting
to wear me down a little. A “just for fun” outing would do me some good....
catch some fish and get my spirits up, hopefully recharge my batteries and give
me some new hope for the trophy quest. We went out and after catching our bait
fairly easily we decided it would be fun to park our kayaks in a nearby boat
slip and hit up the adjacent restaurant for some grub. After crushing some
pretty epic fish tacos that had a little extra shaddy flavoring from unwashed
hands we hit the water to find some cats. We knocked off a few small fish here
and there but it wasn't long before I got the nagging feeling that I was wasting
an opportunity to chase my goal. I gave into the big fish dreams yet again and left
my bros in search of the fish that seemed to constantly occupy my thoughts. I quickly drifted down river until I found the perfect ambush point along the river's main
channel edge. I anchored up, threw out some rods with fresh cut Hickory Shad, and began to
settle in for the long haul. It was then that I noticed the wind finally laid down and it
suddenly became eerily quiet… like something was about to happen. I was only anchored
up for 5 minutes, not even long enough to get myself situated, when two of my
rods got absolutely slammed. I cranked down and hooked up with my first rod up
of the flat…. Fish on! The second rod, directly under the boat, was hooked up briefly;
just long enough for the rod to wrap around the hull of my kayak, the clear-coat
cracking and popping with the intense stress…. The rod being pushed to the limit only for it to go
slack moments later, the second fish gone. I still battled fish number one,
dancing and darting around the boat, doing everything it could to get away.
After a few hard runs she gracefully accepted defeat.. or so I thought. Upon
bringing her aboard I quickly realized just how unprepared I was for this
moment. Nothing was in place, no camera at the ready, no measuring board
prepared… on top of that this big mama was doing everything in her power to
get back in the water, flipping and flopping and coming close to slipping away numerous
times. I made the quick decision to call my buddy Nate Blanche who was just
upriver. He made a hasty paddle down to me. With his hell I was able to get my measurements
and the all important glory shots. After the quick photo shoot she was safely released
back to where she came, hopefully to make some babies for us to catch in the coming years. After the chaos finally settled I began to shake with excitement… I had done it…
another milestone achieved. Class III Master Angler would now be forever belong
to me, all because of that big beautiful fish. An elegant lady wearing stripes,
a 42.5 inch - 35 pound supertanker!!!


Just goes to show, things don’t
always go as planned. Sometimes you just need some good fish tacos, some better
friends, and some of the best luck any fisherman could hope for.
Fish Hard or Stay Home,
Josh D,
Tuesday, February 9, 2016
How to Tie Lefty Kreh's Deceiver
In this video Grant shows how to tie Lefty Kreh's Deceiver fly with detailed step by step instructions.
Monday, February 8, 2016
How to Tie a Clouser Minnow
In this video Grant shows how to tie the very popular and always productive Clouser Minnow with detailed step by step instructions.
Saturday, January 30, 2016
Tying an SF Fiber Baitfish Fly
Tying an SF Fiber Baitfish Fly


(In 2015 Grant tied a large batch of SF Baitfish flies for friend/guide/BPS Pro Staffer Harry Robertson to take to the Amazon. Those flies helped Harry's clients land many gorgeous Peacock Bass like the beauty pictured above!)
Materials:
Hook: Owner SSW 1/0-5/0
Thread(s): Monofilament tying thread for the body, 70 or 140 denier thread to match the top color of the fly
Body: SF Fibers in desired colors
Flash: Flashabou to match SF Fibers
Lateral Line: Holographic Flashabou or Lateral Scale
Eyes: Large 3D molded eyes
Glues: Sally Hansen Hard as Nails or equivalent head cement, Loctite GEL
Helpful tools: A rotary vise makes this fly much easier

Step 1: Start your monofilament thread on the hook and run it to the back. Monofilament thread is the best option for this fly because it lets the colors of the SF fiber show through.

Step 2: Tie in 2-3 strands of flashabou in your desired colors in the midpoint of the material, then fold it back and wrap over it. This helps make sure the material doesn’t slip.

Step 3: Take a thin clump of SF fiber in your desired color. Don’t use any more than what is pictured here. If you use much more than this, the fly will be very thick when finished and won’t fish correctly.

Step 4: Tie in the clump of fiber in the midpoint like we did with the flashabou and fold it back just the same. It should look similar to what is pictured here.


Step 5: It helps to have a rotary vise for this fly because you will have to flip the fly over after every step. Invert the fly and repeat step 4 and work the material around the hook.

Step 6: Repeat steps 4 and 5 until you reach just behind the eye of the hook. If you are planning on making a white bellied baitfish fly. I like to do all white material on the bottom and the first two ties of material on top. After the first two on top I begin tying in the color (in this case chartreuse. This helps make the fly appear more natural with just the right amount of color on top. Stop your materials about an eye width back from the hook eye.


Step 7: Whip finish off your mono thread. It helps to double whip finish this stuff because sometimes it likes to unravel. Add a dab of Sally Hansen and then start your colored thread right on top of the mono. I like to use the thin thread here because it prevents a large build up.

Step 8: Take about 4 strands of the holographic flashabou and tie them in in the center of the material on the near side of the fly right down the center. Then fold the material around the eye and run it down the center of the opposite side of the fly as well. This flash line serves as the lateral line for the fly.

Step 9: After tying in the flash down the sides, use your colored thread to cover up the mono thread entirely, as well as the tie in point for the flash. This builds a nice head that matches the top of the fly. Whip finish off and coat in Sally Hansen.

Step 10: I find it’s easiest to turn the fly on its side for this step. Use a drop of Loctite Gel right behind the thread head, on top of the flash we just tied in. Then push your large 3D molded eye onto the drop. The gel Loctite works best because it doesn’t run while you are getting the eye into position. Repeat on the opposite side of the fly. I like to coat the thread head again with Sally Hansen and to make sure to get a little bit back onto the eyes. This helps the durability of the fly.

Step 11: Trim the fly to your desired shape. I like to round the top and bottom of the fly symmetrically while letting it taper off. This is the typical size I tie these flies in.

And that’s it! These flies can be tied pretty quickly after a little practice. They are very durable and have been responsible for bringing many species of fish to my hands! There are endless color combinations that you could tie these flies in to match just about any baitfish in any environment. You can trim the material to any shape you desire as well. The SF fiber also accepts permanent marker very well and I like to add barring and dots to a lot of my flies. I have used this simple pattern to catch everything from Largemouth to Stripers and Redfish to even a few catfish. The material is long enough to where you could tie it in without folding to make flies large enough to target musky as well. Just about any predator species will happily demolish one of these that’s cast into its home waters. I hope this post will help you get creative with this easy to use material and create some really cool flies!
Tight Lines,
Grant Alvis
Tying a Hybrid Carp Worm Fly
Tying a Hybrid Carp Worm Fly

Materials:
Hook: Octopus Straight Eye size 1
Hook: Octopus Straight Eye size 1
Thread: Brown 70 Denier
Eyes: Mico Lead Eyes (can also use black nickel eyes)
Tail: Red or Natural Colored Ultra Chenille (San Juan Chenille)
Body: Peacock Herl
Collar: Indian Hen Soft Hackle
Other: A Lighter can be used to taper off the tail of the fly


Step 1: Start the thread and attach the lead eyes directly behind the eye of the hook. This will help the fly stand up higher in the water.

Step 2: Attach the chenille as shown. I like to tie it in right behind the eyes to help bulk up the body later. Allow roughly an inch to hang off the back of the hook to act as the worm tail.

Step 3: Take 3 or 4 strands of peacock herl and attach them to the hook right where the last thread wraps are holding the worm chenille.

Step 4: Wrap the pieces of peacock herl up the shank of the hook tightly one right after another. Tie them off and snip them right behind the lead eyes.

Step 4: Wrap the pieces of peacock herl up the shank of the hook tightly one right after another. Tie them off and snip them right behind the lead eyes.

Step 5: Pull a feather from the Indian hen cape. I like to prepare the feather as shown to help me tie it in more cleanly. This type of tie in is often referred to as tying in the feather “soft hackle style”.

Step 6: Tie in the feather directly behind the eyes as shown. You are basically tying it in right on top of where you clipped the peacock herl.

Step 7: Palmer the feather around the hook shank behind the eyes 3 or 4 times. Tie it off behind the eyes and stroke the fibers back and wrap in front of them several times. This will help them lay back against the fly.

Step 8: Jump your thread in front of the eyes and whip finish and snip off the thread.

Step 9: This is an optional step but I think it makes the fly look better. Take a lighter and quickly poke the worm tail into the flame and remove it from the flame. This will taper the tail down smoothly. MAKE SURE TO DO THIS QUICKLY, that way you don’t mess up and catch the chenille on fire.

That’s the finished fly! The original pattern was designed by John Montana and he designed it solely for the purpose of fooling big carp. I mainly use this fly for what it was intended and due to its size, even the spookiest of carp can usually be coaxed into sipping this pattern in. You can tie this fly thin without too many hackle wraps like the one on the left or you can add a few more hackle wraps to really bulk up the body like the one on the right. I tie it in a few colors but my most successful have been red and a natural tan. This fly has been responsible for landing smallmouth, largemouth and sunfish species for me as well.
Tight Lines,
Grant Alvis
Thursday, January 28, 2016
No Rest for the Wicked
Check out our latest video! A compilation of all of the great fish we caught on film in 2015. It was an amazing year, here's to an even better 2016!
-Josh D.
Sunday, January 3, 2016
New Trophy for New Years: The Brook Trout
New Trophy for New
Years: The Brook Trout

“You’re insane”- That was the
common phrase coming from my friends at the New Year's Eve party I was at. I
explained to everyone that I would be heading to the mountains once the party
was over, no sleep for me in the forecast. 2016 would start the same way as
many of the great trips of 2015 had went, with an all-nighter “suicide run” to
hunt down one of the targets on my angling hit list. We all said our cheers as
the clock struck midnight, but for me the hourglass had now been flipped; it
was a race against the sun.

I loaded up the gear and hit the
road, burning down I-64 West to the mountains, windows down and fueled by 5 Hour
energy. I arrived on the banks of a stream notorious for being the home of some
monstrous Trout. Just as the sun peaked over the mountains I made the first of
a few hundred casts that day.
It wasn’t long before I felt a
slight tug on my line, almost as if I had picked up some grass. My spinnerbait
snagged what looked like a leaf, it turned out to be one of the coolest unexpected
catches of my life, a small stone colored Sculpin. Sculpins live among the
rocks in the swift streams of the Blue Ridge Mountains and are a
favorite snack of big Trout everywhere.


After taking a mid-day break I caught
a second wind and powered through the rest of the day, picking off trout here
and there. All average size fish with no giants up until that point. On what
seemed like my thousandth cast of the perilously windy day the bruiser I came
for showed up to the party. As I was about to pull my Joe Fly out of the water I
got hammered, no more than a foot from the bank. The beast head shook back and
forth, not wanting to give an inch. She finally got turned away from me and managed
to make a few strong runs before I scooped her up into the net.


January 1st, 2016 was a
success. 36 hours straight without sleeping, a 4 hour ride into the mountains
under the cover of darkness, 28 degrees, 15 mph winds, and a few hundred casts
later I had captured what I had come for, a 17.50 inch Virginia trophy Brook
Trout. I couldn’t have asked for a better start to the year, my 14th trophy species and my first trophy of
2016! Hopefully a good omen for what’s to come!
Fish
Hard or Stay Home,
Josh
D.
Subscribe to:
Posts (Atom)